8 Images
Some of my go-to tools for image optimization and manipulation.
8.1 Optimizilla
The website formerly known as Optimizilla (now https://imagecompressor.com) is my go-to choice for shrinking down most images (PNGs, JPEGs, etc.) before adding them to a website.1

You can do images one at a time, or a batch of up to 20 of them, and then download them as a compressed archive. I actually quite like that it adds the suffix -min to the original file name, as it lets me know that I’ve already compressed that image.
If you need to compress more than 20 images, or don’t want to deal with uploading and downloading images, see Section 2.4 for discussion of command-line image-compression tools such as optipng (or its Rust-based successor, Oxipng).
8.2 SVGOMG
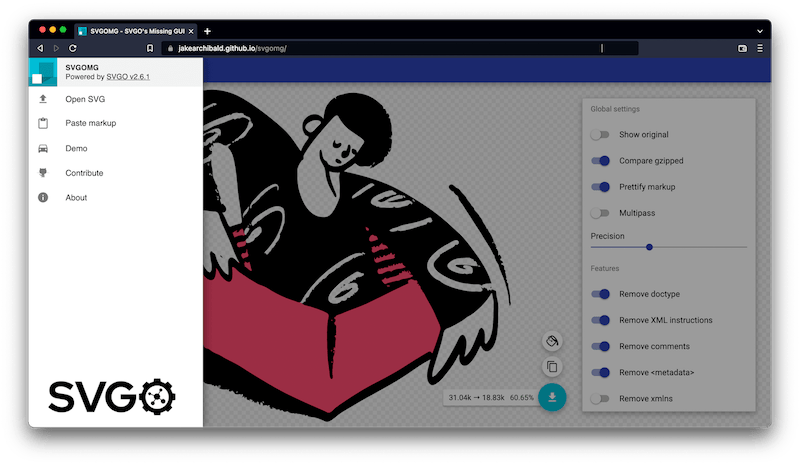
For minifying SVG files, I like to use SVGOMG by Jake Archibald. As described in the README on GitHub:
SVGOMG is SVGO’s Missing GUI, aiming to expose the majority, if not all the configuration options of SVGO.
SVGO is a node-based tool for optimizing SVG files, and can be used as a CLI (as well as imported as a node module). Since I don’t work with SVGs that often, I prefer to use the GUI.
8.3 ImageMagick
ImageMagick® is free software that lets you “create, edit, compose, or convert digital images.” You can download the binary distribution from its site, and its source code is available in the ImageMagick GitHub repository.2 The fact that its site has a page specifically on command-line tools suggests that there’s another interface, but I’ve only ever used the ImageMagick command-line interface.
You can do about a zillion things with ImageMagick—their official usage page covers popular examples—and I’ve really only touched a few of its features. The one(s) below, I’ve had to look up multiple times, which is why they’re included here.
8.3.1 How to batch convert all of the images in a directory
Officially, magick mogrify is for inline image modification (i.e. it does many of the things magick does, but overwrites the original file). However, it does not overwrite the original file if the -format option is used to change the file suffix.
So, using the example from the mogrify help page, the following would convert all of the PNG files in a folder into JPEGs, keeping both file formats.
magick mogrify -format jpg *.pngTo see all of the available formats, you can run magick -list format.
8.3.2 How to convert an SVG to a high-resolution PNG
Here my goal was to convert an SVG image to a PNG with a resolution of 300 and a transparent background. There are a lot of answers out there of various vintages, and it took me a few tries to get what I wanted—thus my recording it here.
I used the magick convert command (though, looking at the current docs, it seems I might not have needed to actually write convert at all) with three options specified: -units, -background, and -density.
By default, ImageMagick uses a resolution of 72 dots per inch (DPI). DPI is also its default unit. When rasterizing an SVG, magick will set the background to white by default. In order to get the output I wanted, I had to change all three of these things, which resulted in the following:
magick convert -units PixelsPerInch -background none image.svg -density 300 image.pngNote that the -background none flag is set for the input SVG image, while -density 300 is set for the output PNG image.
Adapted from ImageMagick: Converting SVG to PNG by Bruno Sedler.
8.4 Squoosh.app
For the purposes of better web-page performance, it’s useful to reduce the size of images. You can learn all about this in Using modern image formats: AVIF and WebP (Osmani 2021), but the important bit is that sometimes you want a tool that lets you convert images to different formats (namely, AVIF and WebP) and compare them. Enter Squoosh.app, which does just that.
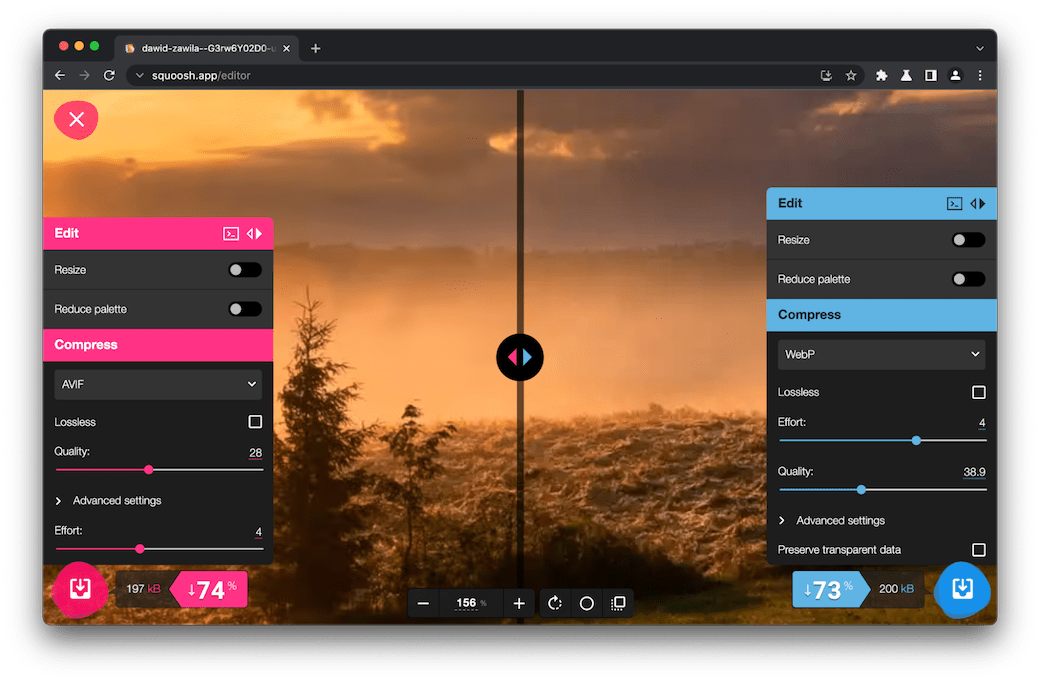
This tool is especially handy when paired with the <picture> HTML element and used for progressive enhancement.
Though this can be done using CLI tools (see Section 2.4 for details), I haven’t been able to match the performance of Optimizilla on my own just yet.↩︎
Personally, I’ve always installed and updated ImageMagick with homebrew (i.e.
brew install imagemagick).↩︎